Goodnotes 6 Beginner Guide (2026)
Updated January 27, 2026

Goodnotes has pushed a lot of updates in the past several months. While I like some of them, such as the customizable toolbar and the fact that hyperlinks now work in both modes, there are others that I’m disappointed in. For instance, the heavy push for AI tools has shifted what was once a one-time fee every time there was an update, into a subscription service.
If you already own Goodnotes 5 or 6, the company currently lets you stick with your existing plan, which is appreciated, but I’m not sure how long that will last. If you're new to Goodnotes, welcome! Goodnotes offers an array of tools to customize your planners and journals, including various pens, shapes, tape, and images. In this tutorial, I’ll break down all these features as of January 2026.
Personal Favorites:
Arrange: You can arrange elements/ text in front/ behind another. This is a feature that most people are common with in Canva and was a nice addition in Goodnotes 6 to have. In the past when I wanted a sticker to be behind or in front another to add more depth, I couldn’t. Which often resulted in me re-doing my spread.
Eye - dropper color match: Bringing in a common features in graphic design programs, this eye-dropper tool allows color matching in the digital planning world. No longer will we have to know the hex code of the color like we did in Goodnotes 5.
Goodnotes toolbar Overview:
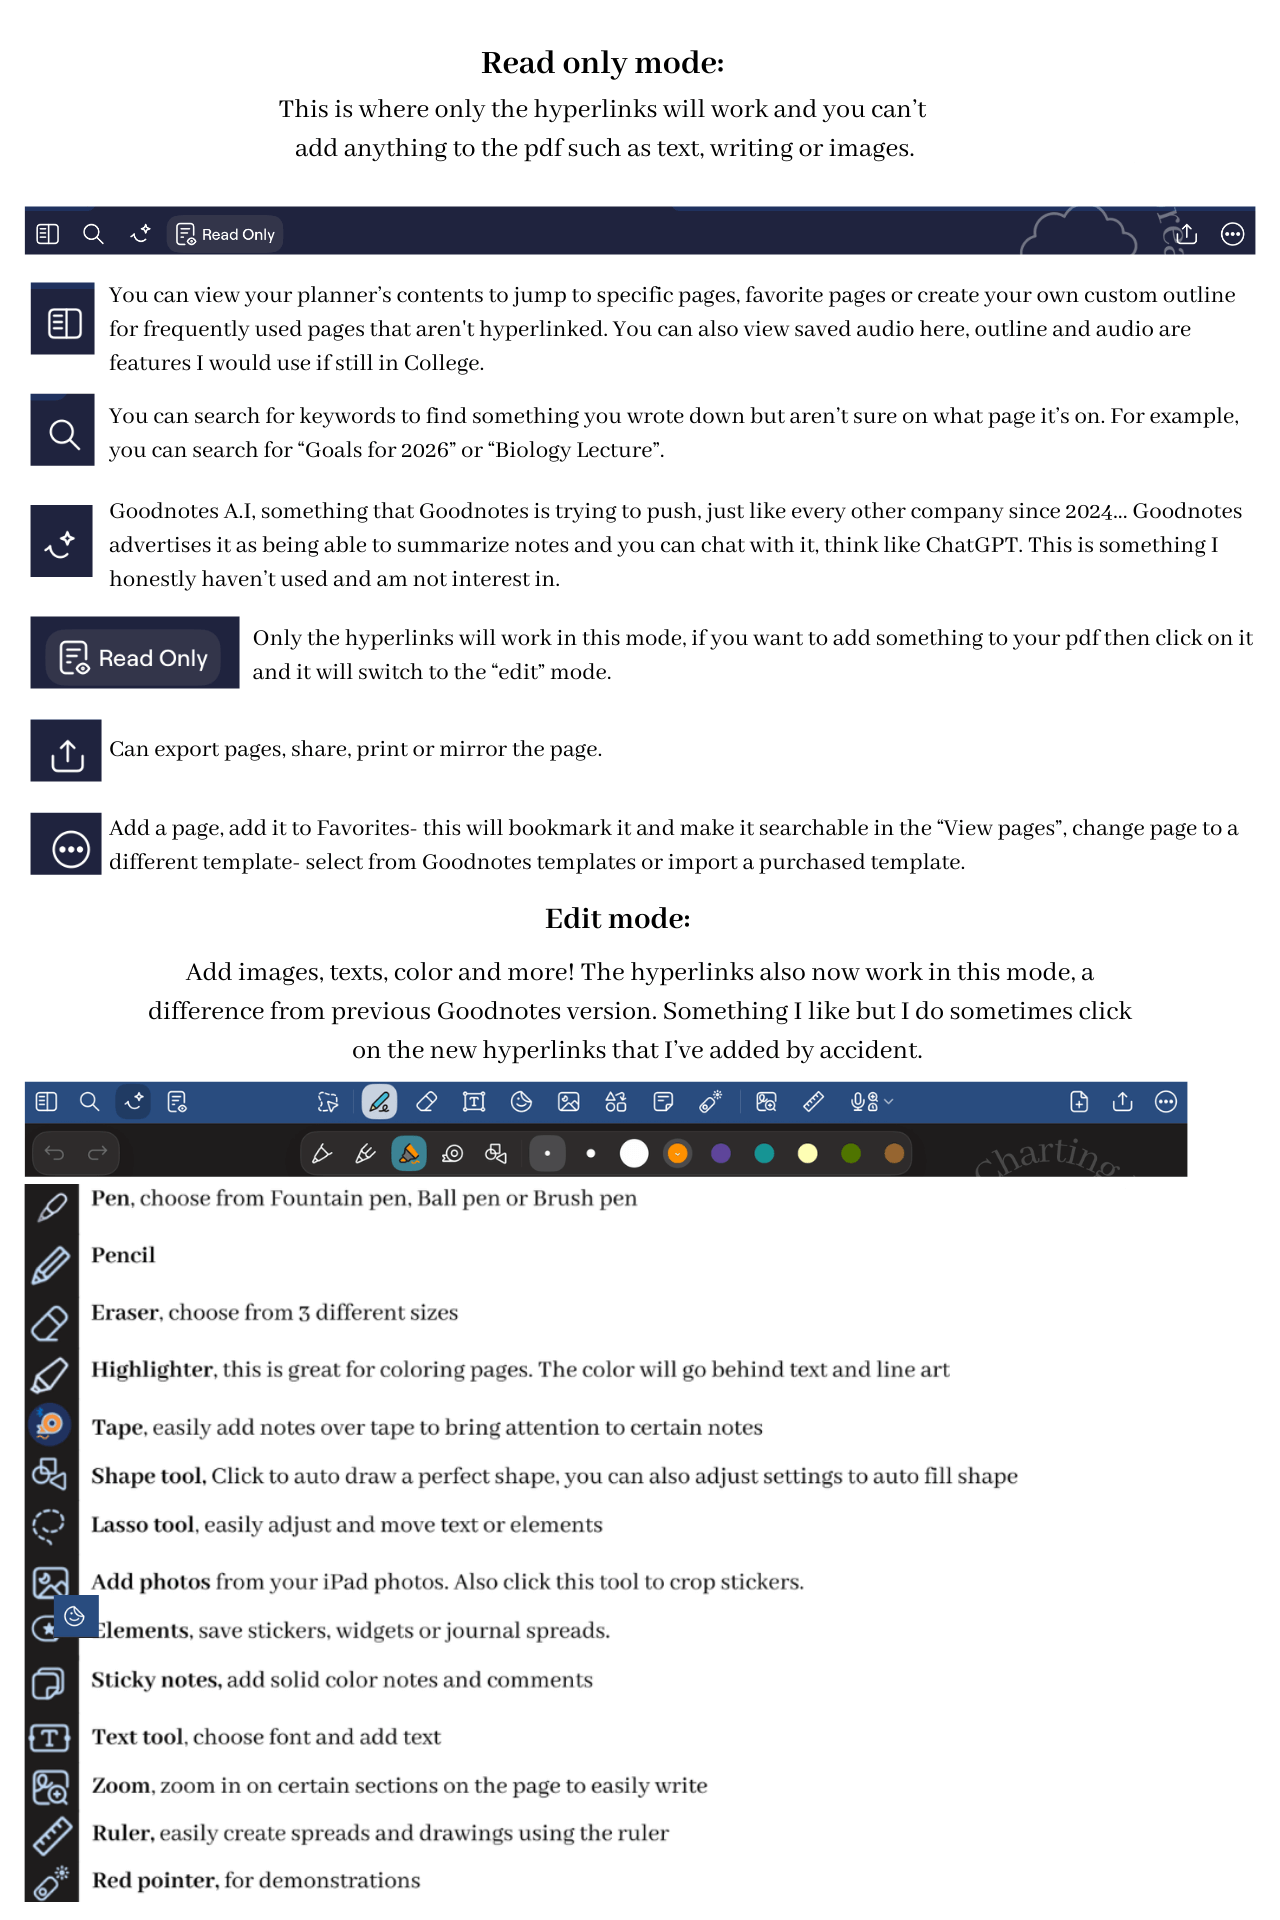

Tips:
These are some of the functions I use the most in Goodnotes.

Now that you've learned the basics of Goodnotes 6, continue building your digital planning skills with these beginner-friendly tutorials.
How to Use the Lasso Tool in Goodnotes – Learn my favorite tool for moving, resizing, and editing handwriting and stickers.
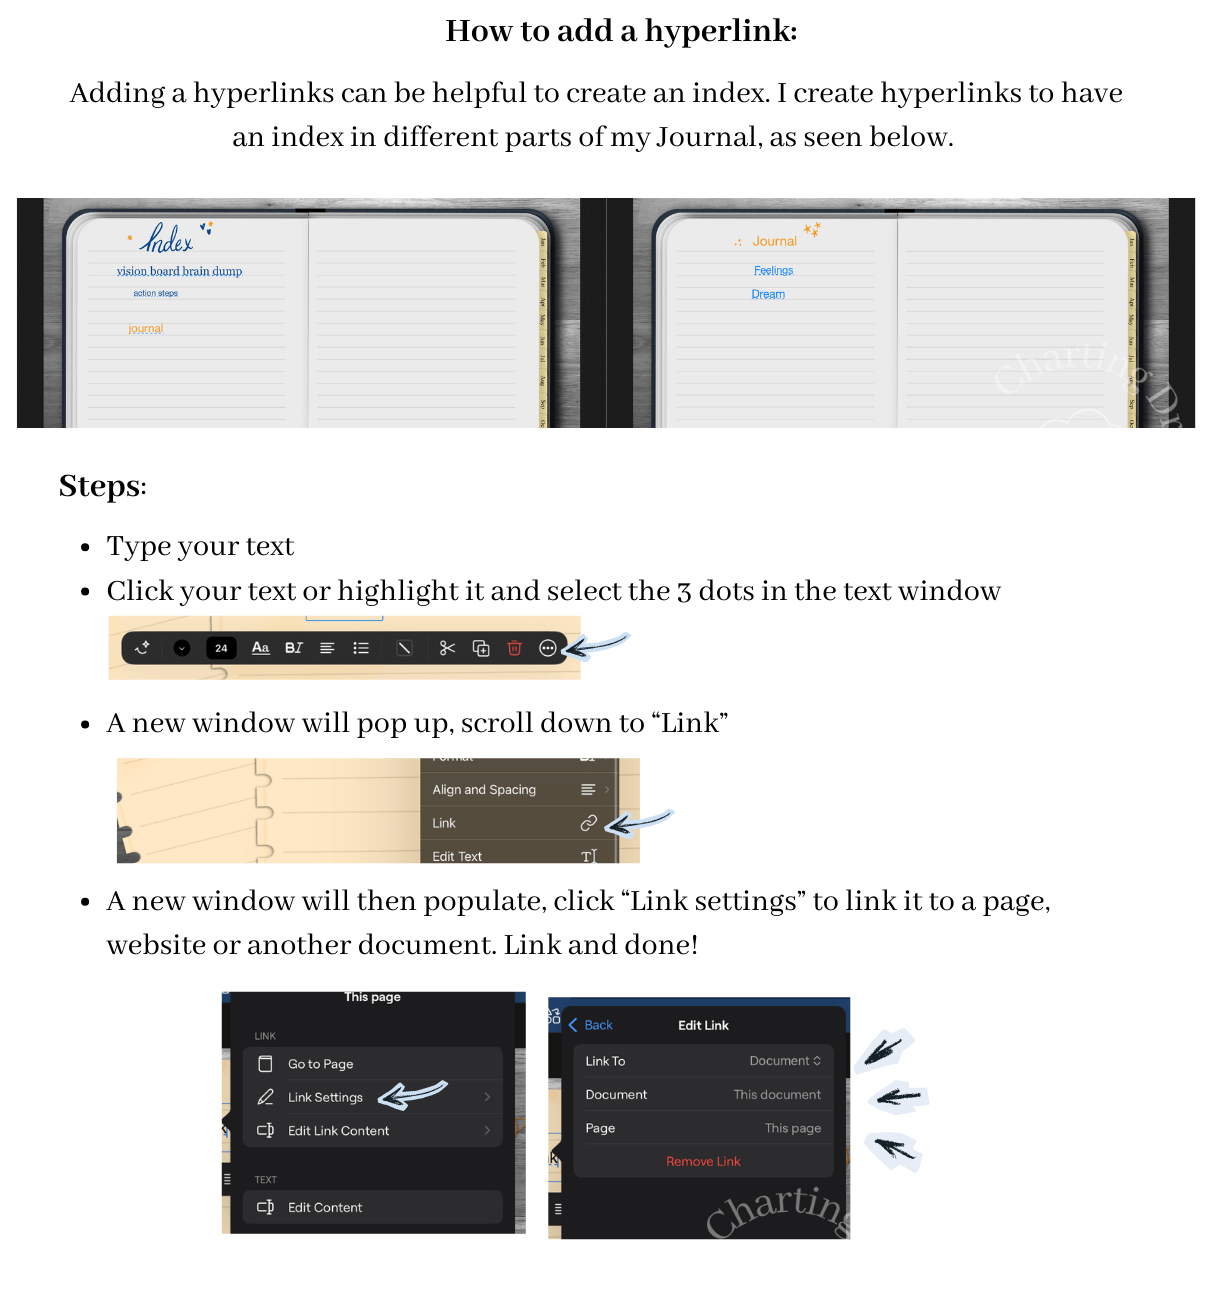
How to Add Hyperlinks to Any Goodnotes Document– Create planners and notebooks that are easy to navigate.
How to Use Digital Stickers in Goodnotes– Discover three simple ways to decorate and organize your planner.
How to Bulk Add Stickers to Goodnotes – Save time by importing your sticker collection all at once.
How to Match Pen Colors in Goodnotes – Use the eyedropper tool to perfectly match your planner's color palette.
How to Use Split Screen in Goodnotes– View reference material while planning or journaling for a more productive workflow.
If you're ready to start planning instead of just learning, browse my collection of digital planners, journals, and sticker books designed specifically for Goodnotes. Explore the shop.
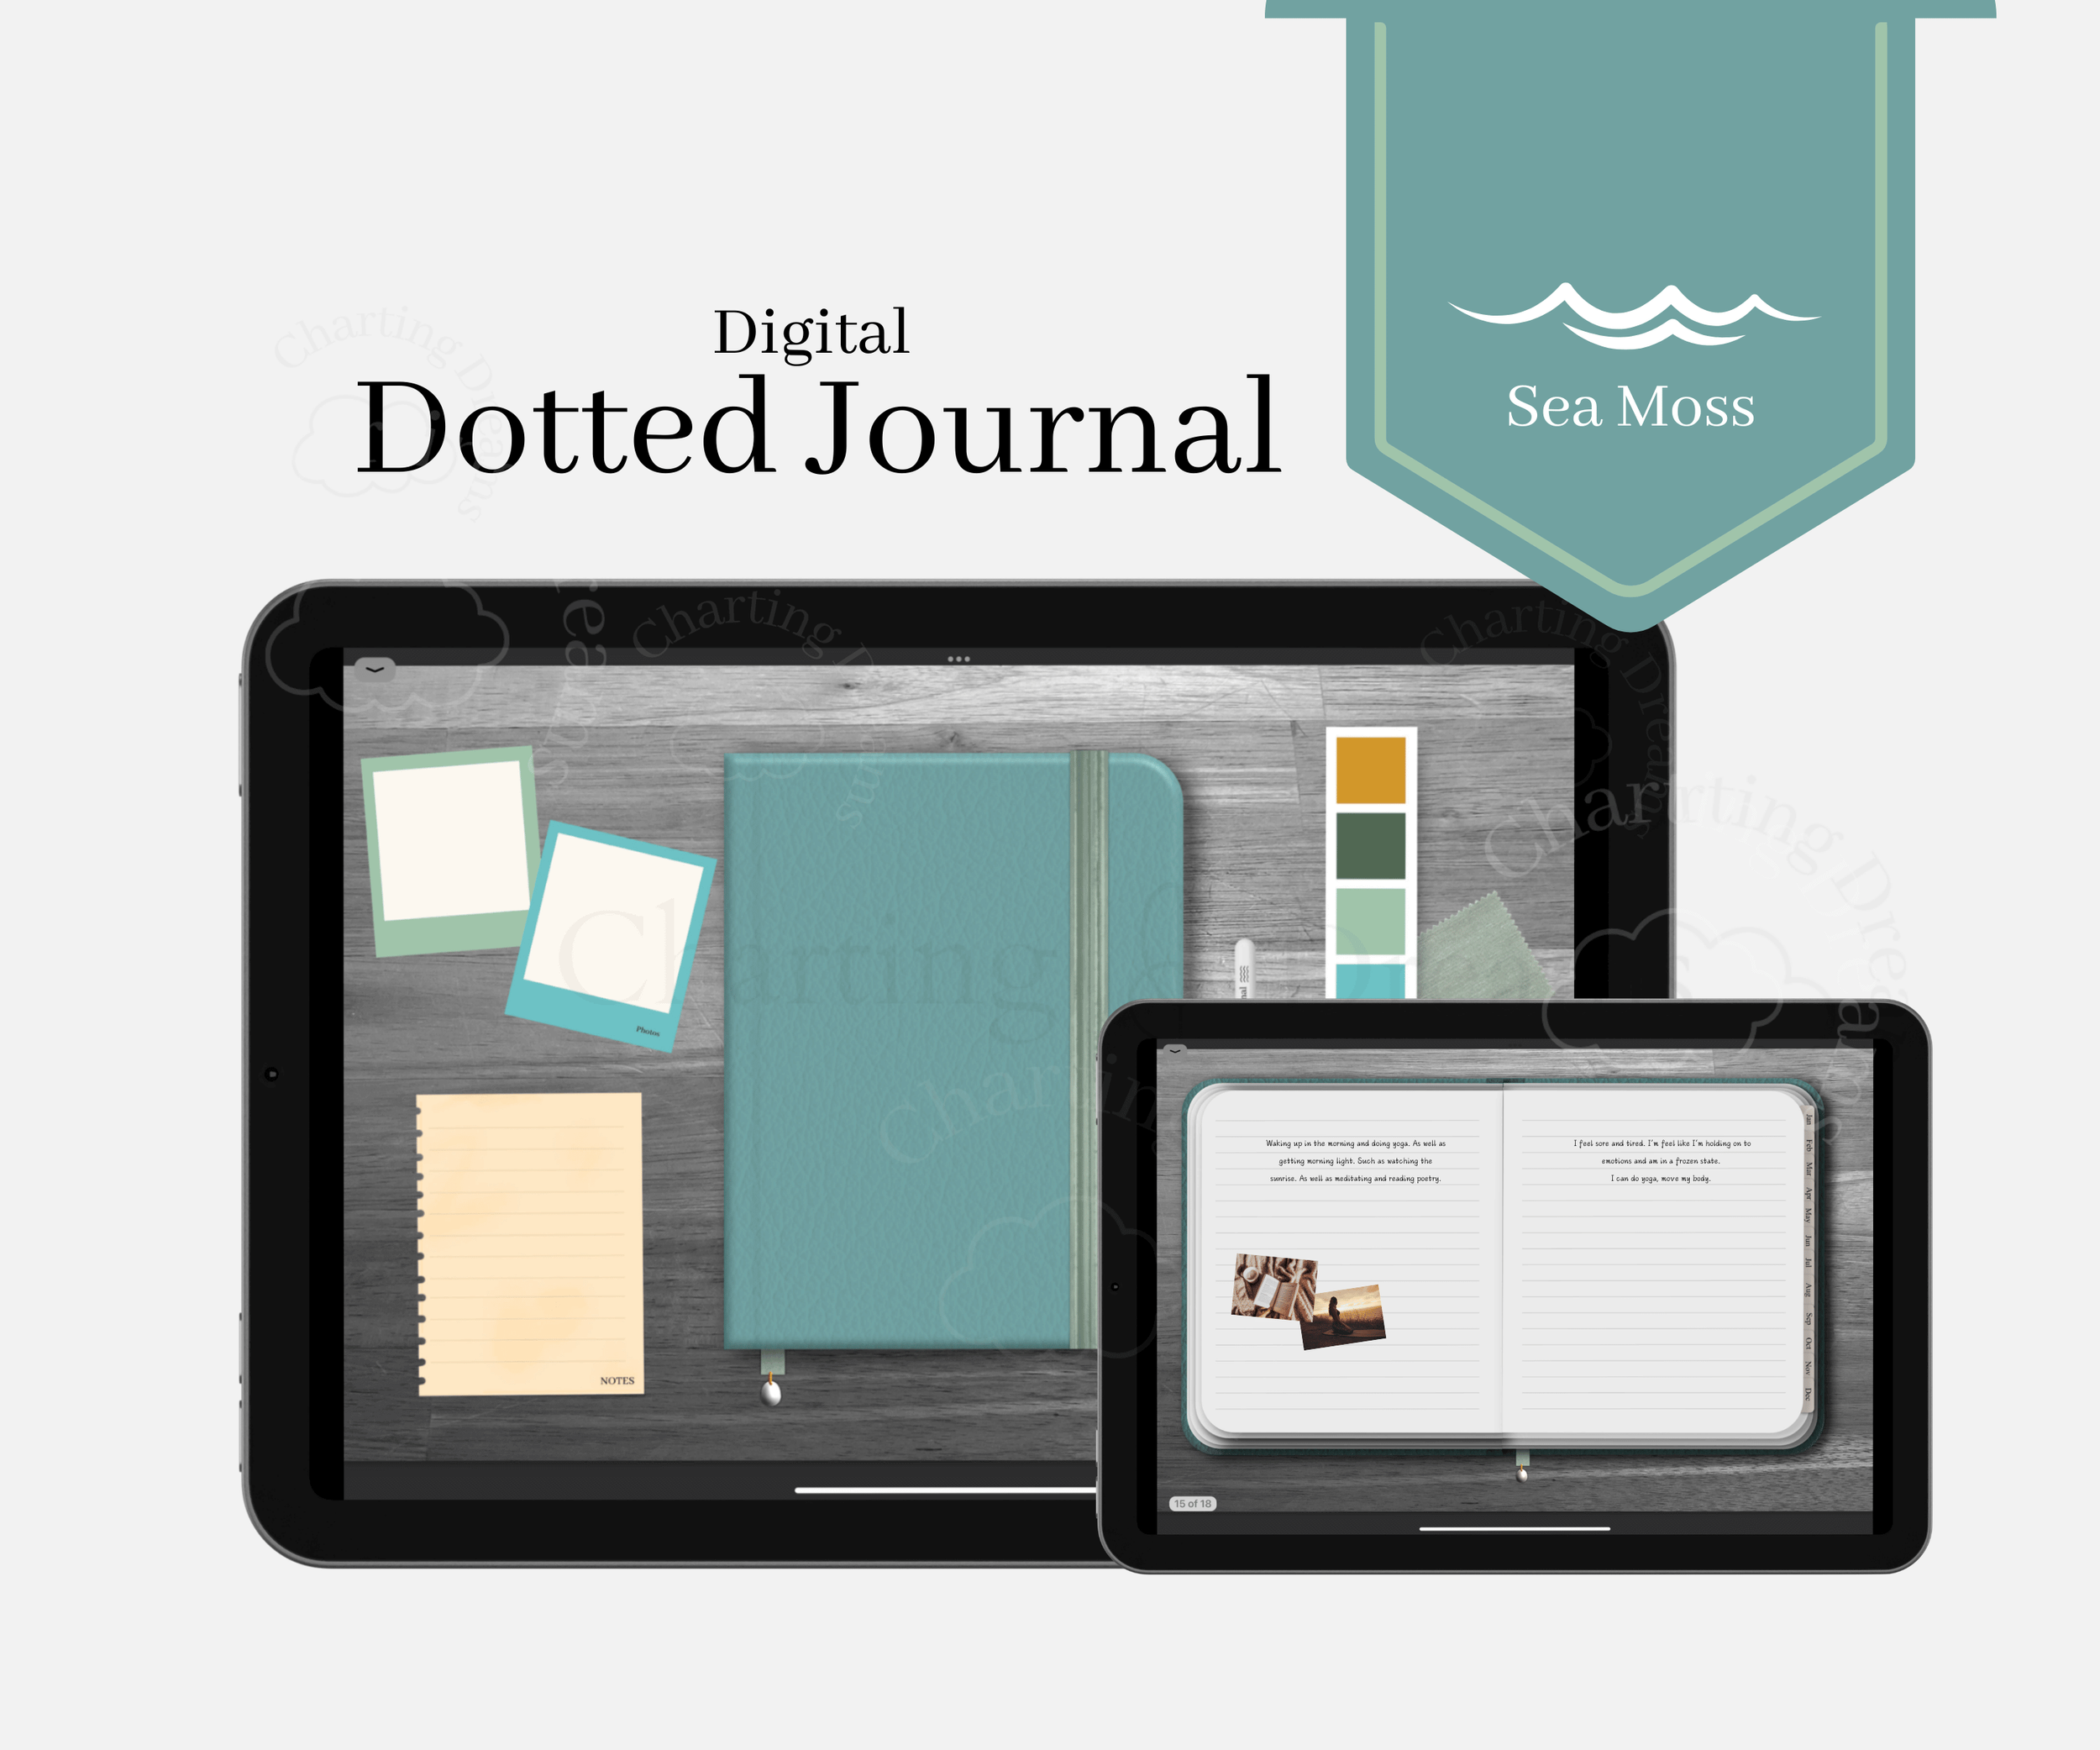
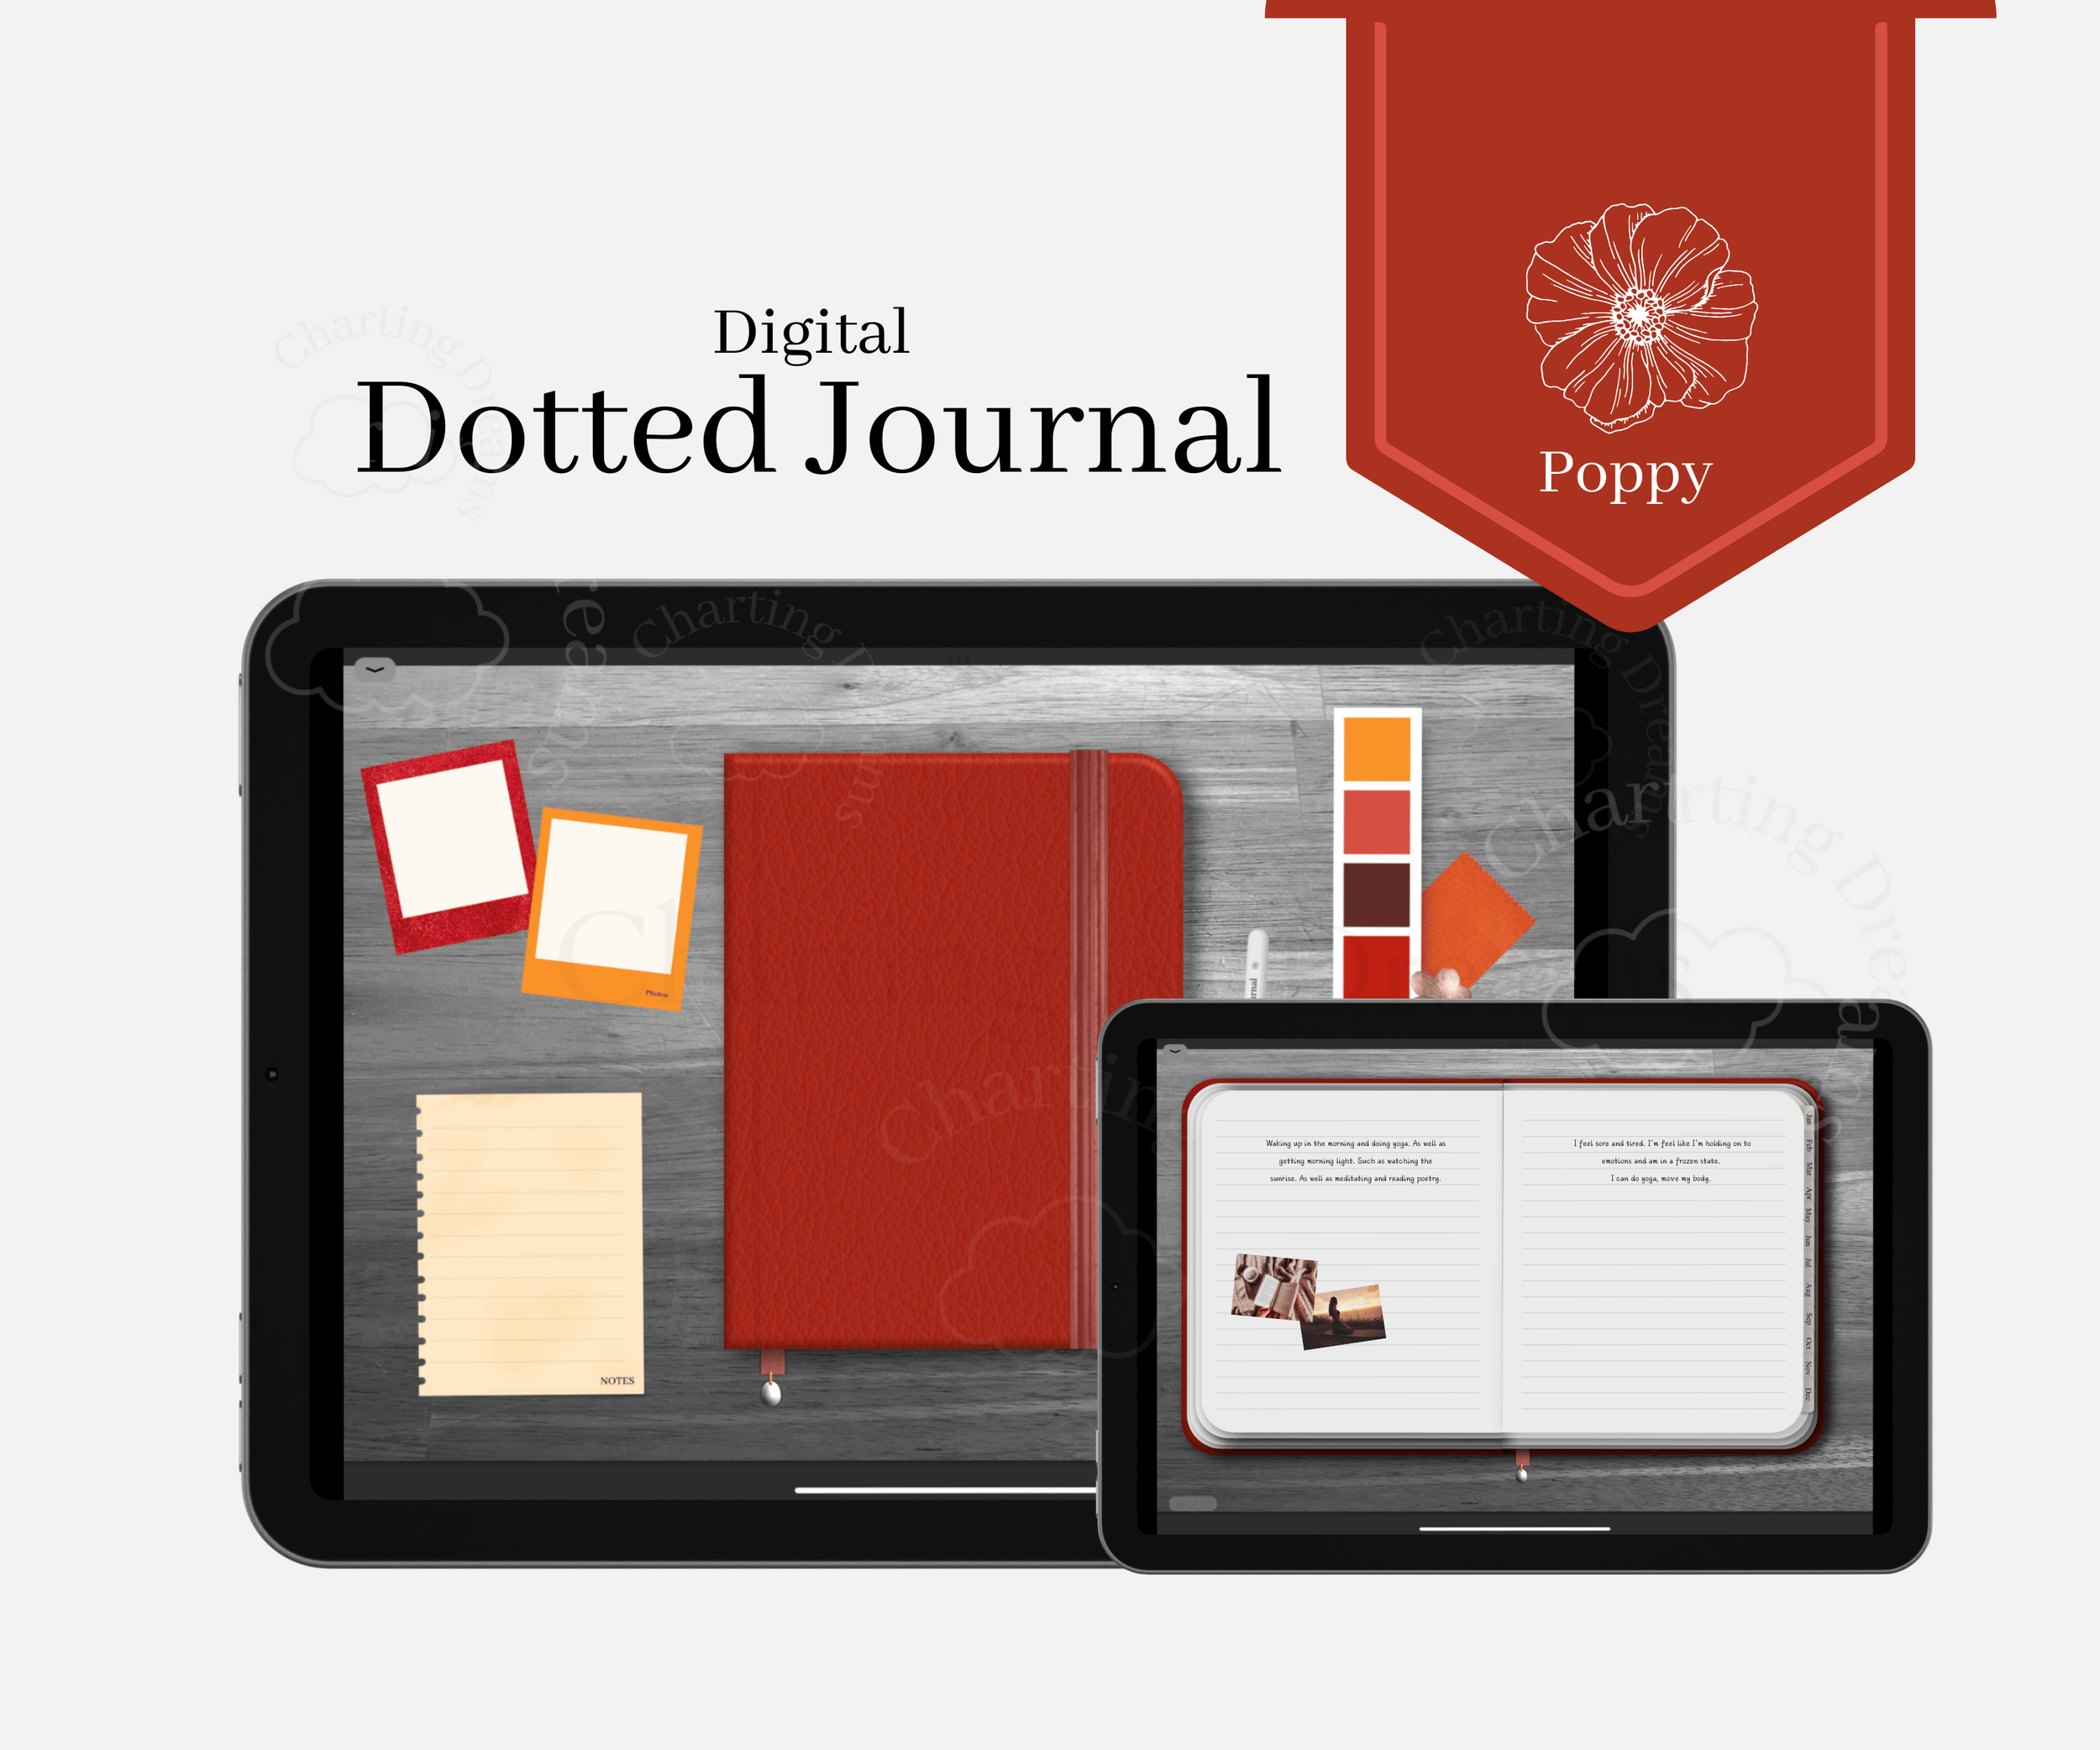
Browse Digital Planners:

Watch video Tutorial: