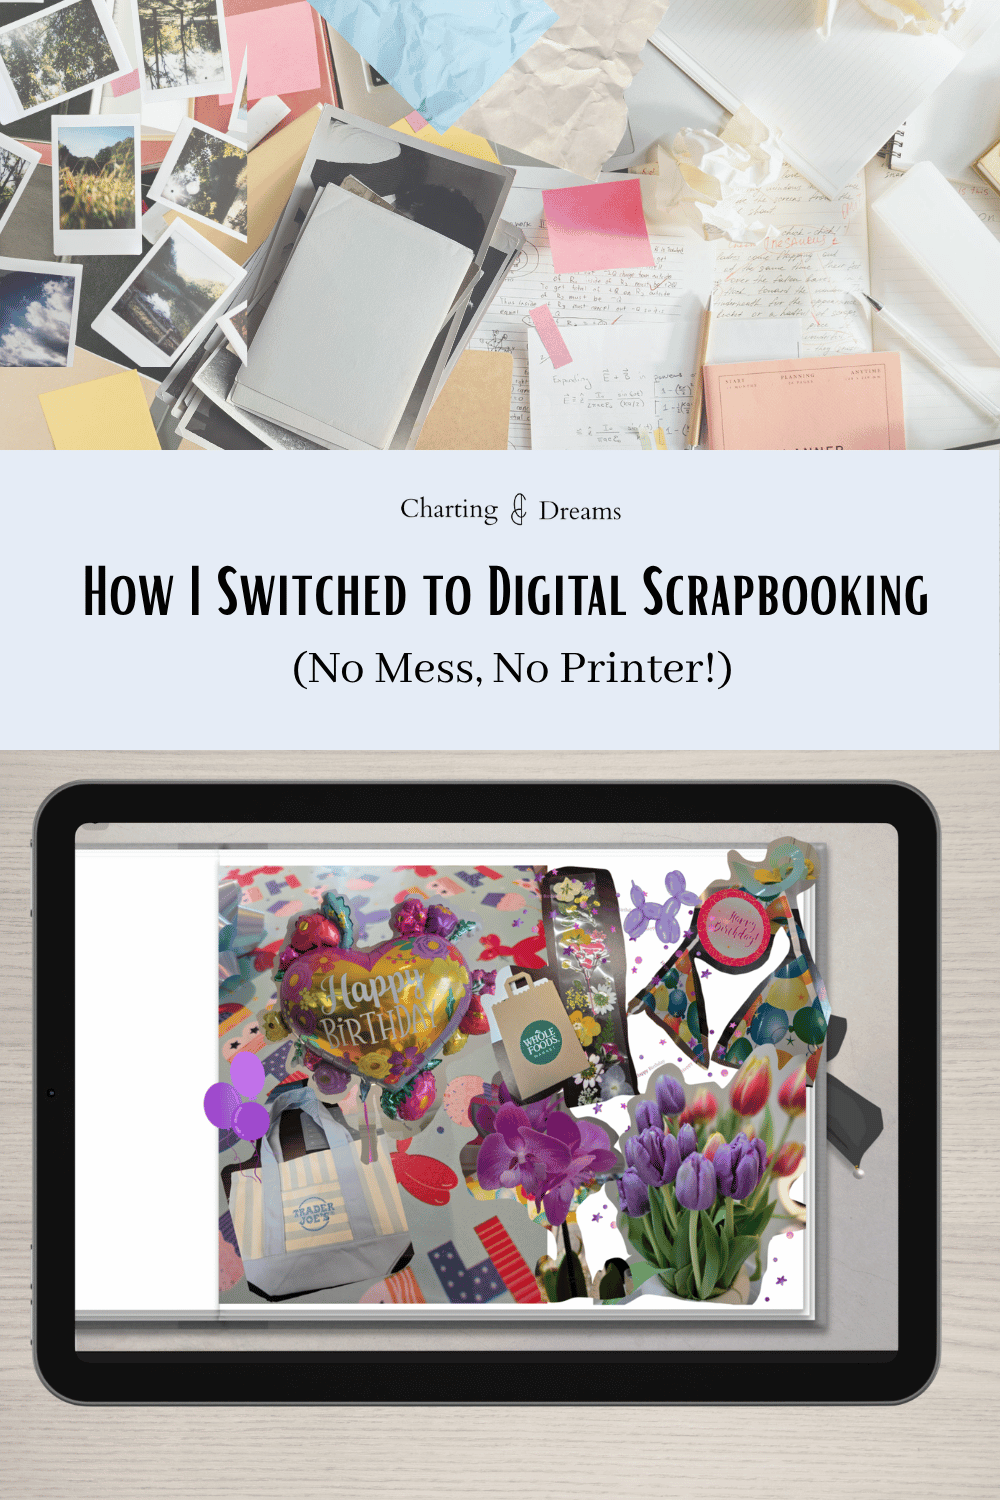
Digital Scrapbooking for Beginners
I always wanted to scrapbook.
I bought a scrapbook and some cute fun stickers, but then they sat on a shelf.
The blank pages daunted me because all I could think about were the things I didn’t have; the pretty patterned paper and of course—more stickers. I was also daunted by how I would print my pictures since something was always wrong with my printer, and I didn’t want to throw down more money for an expensive, compact printer. So, the photos went uncollaged, and I never really saw my favorite memories.
That is until I got an iPad.
I know what you're thinking: I didn’t want to buy an expensive printer, but I bought an iPad?
However, the iPad came several years later when I wanted to start drawing in Procreate. I jumped on the bandwagon like everyone else did around COVID. I was surprised by how much I liked the digital space. I was such a tangible product person—and still am. However, on the days when I want to create but the cleanup seems daunting, to my iPad I go. After several months of messing around on it, I explored the options of creating digital journals, and a scrapbook soon followed. Gone was the stress. I could create anything I wanted on my iPad to decorate my pages and easily drag my photos from my photo album straight into my scrapbook.
What is a Digital Scrapbook?
Essentially, a digital scrapbook is a traditional scrapbook recreated entirely in a digital space, like an iPad or a tablet. Instead of a physical book, you use an app that can read and process hyperlinked PDFs. My go-to app for this is Goodnotes. These hyperlinks let you click tabs on the page to instantly flip to different sections, just like dividers in a real scrapbook.
How Do You Digital Scrapbook?
Getting started is incredibly easy, even if you don't consider yourself tech-savvy. Here is the exact process:
Choose Your Canvas: You can use the basic, blank page templates already built into Goodnotes, or you can use a dedicated, pre-designed scrapbook PDF. If you want a realistic look, you can check out the exact scrapbook that I use here.
Set Up Your Screen: Open your scrapbook app and your photo app side-by-side using the iPad's split-screen feature. If you aren't sure how to use split-screen, read our quick guide here to get started.
💡 Tip for Android & Samsung Users: If you are like me and use a non-Apple phone, your photos live in Google photos. To get them on your iPad, you either need to sync your Apple Photos and Google Photos apps, or open Google Photos on your iPad and manually download the pictures you want so they pop up in your Apple photos.
Drag and Drop: Simply tap, hold, and drag your photos over from your album straight into your scrapbook pages.
Decorate Your Space: Once your photos are in, you can decorate using digital stickers, custom drawings, or your own handwriting.
What type of spreads can I create?
You can create any type of spreads. Here’s the type of spreads I’ve created:
Vacation, favorite pictures, compilation or snapshot.
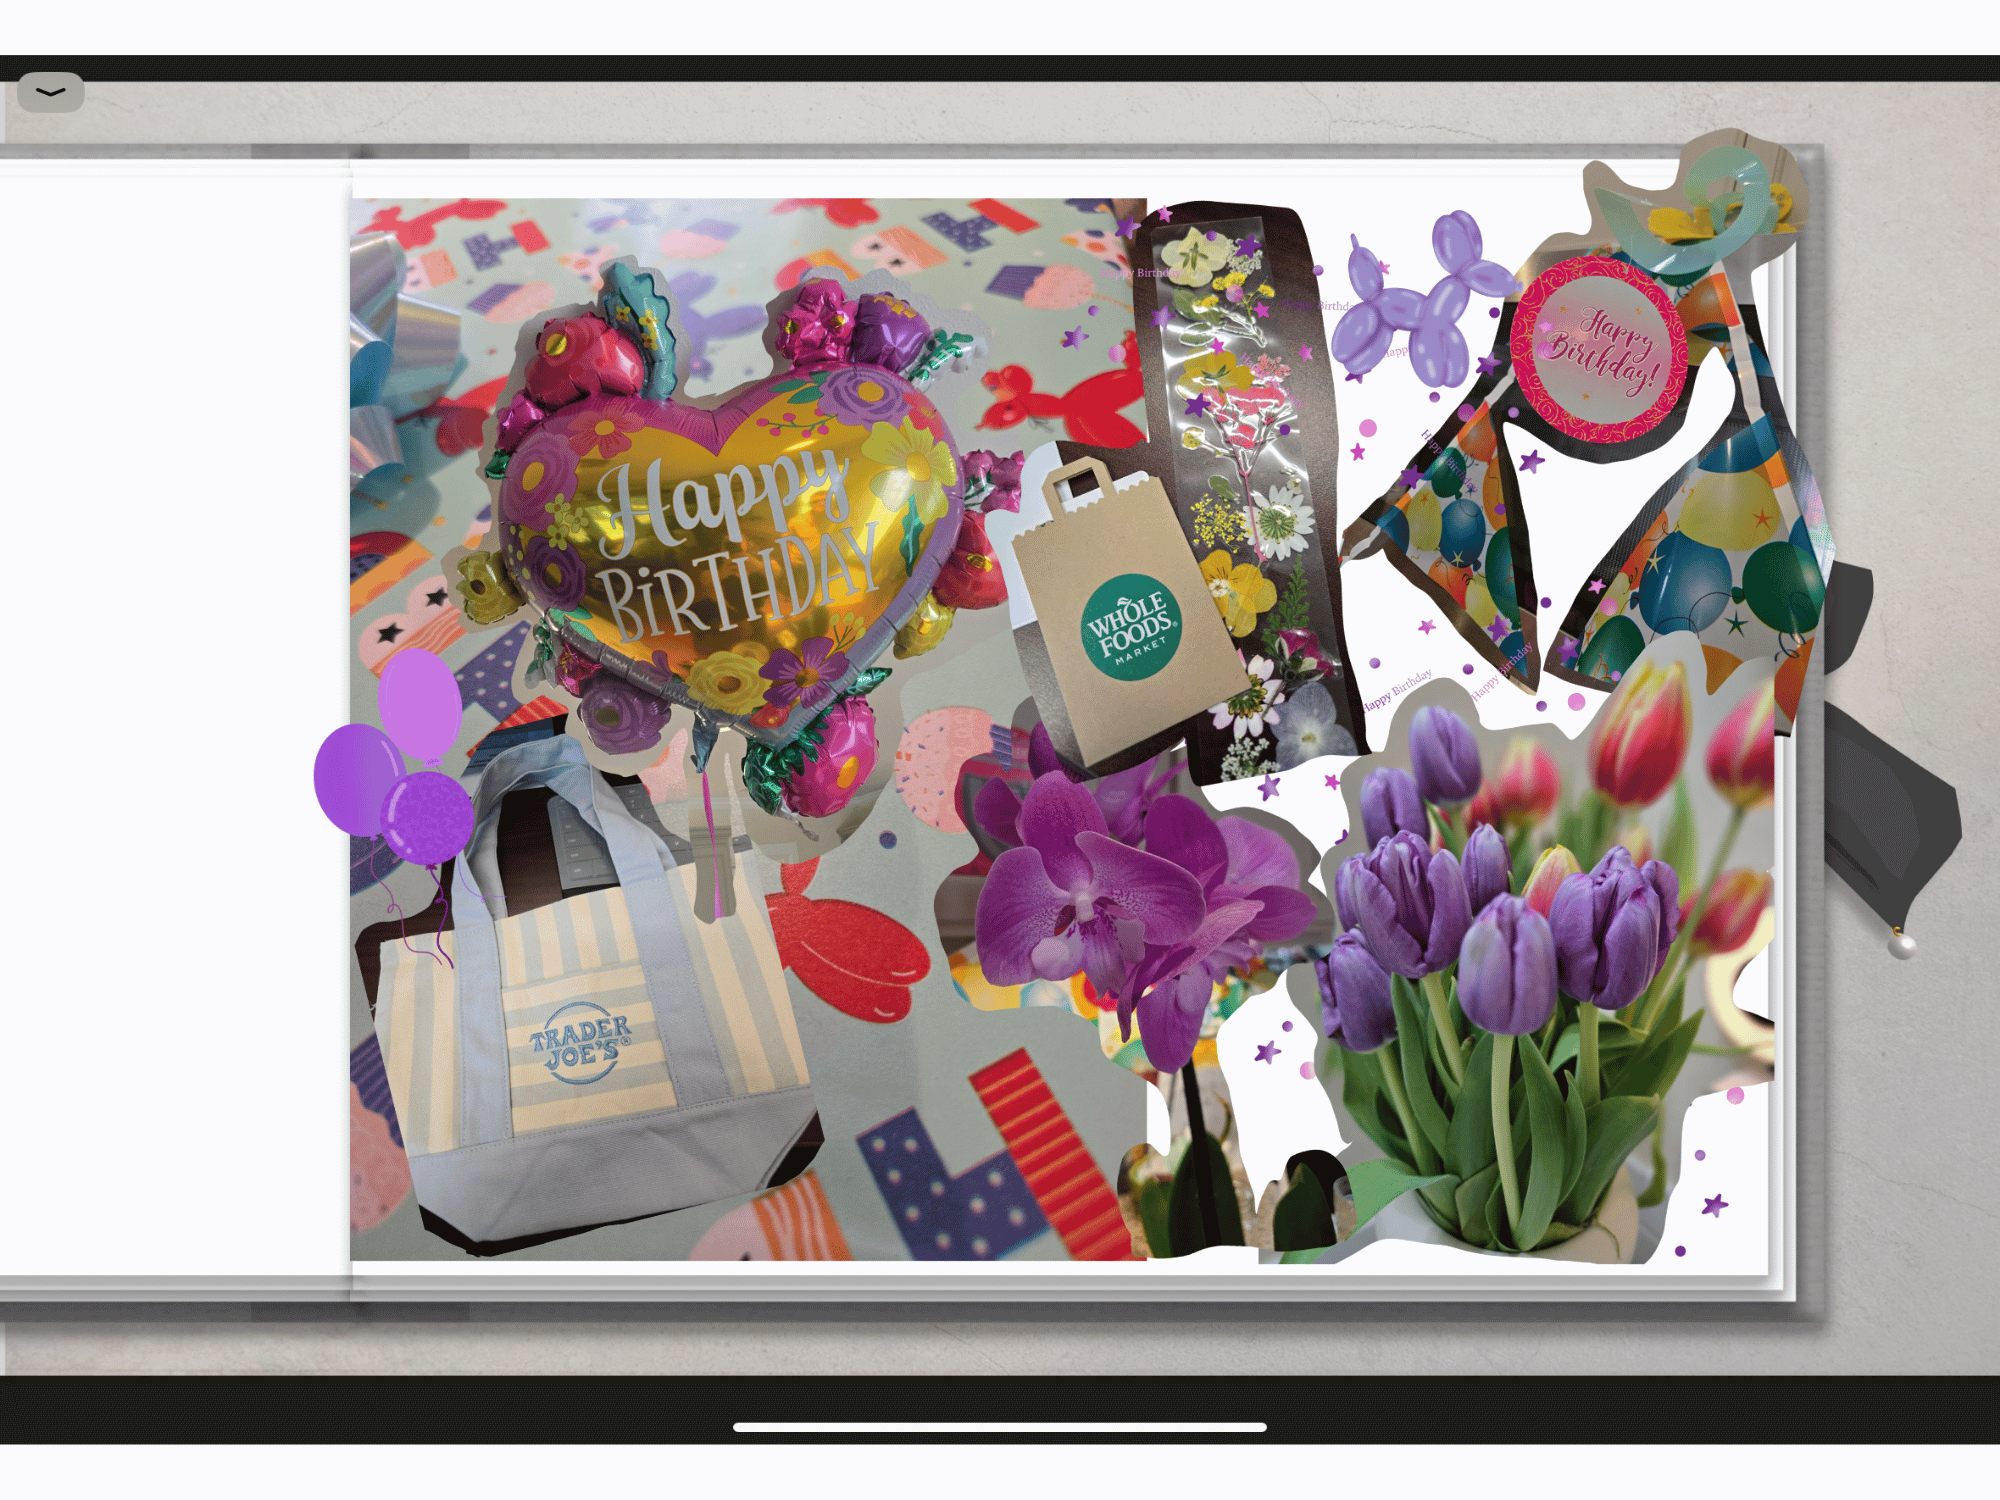
Celebrations, Birthday, Holiday, and Graduations
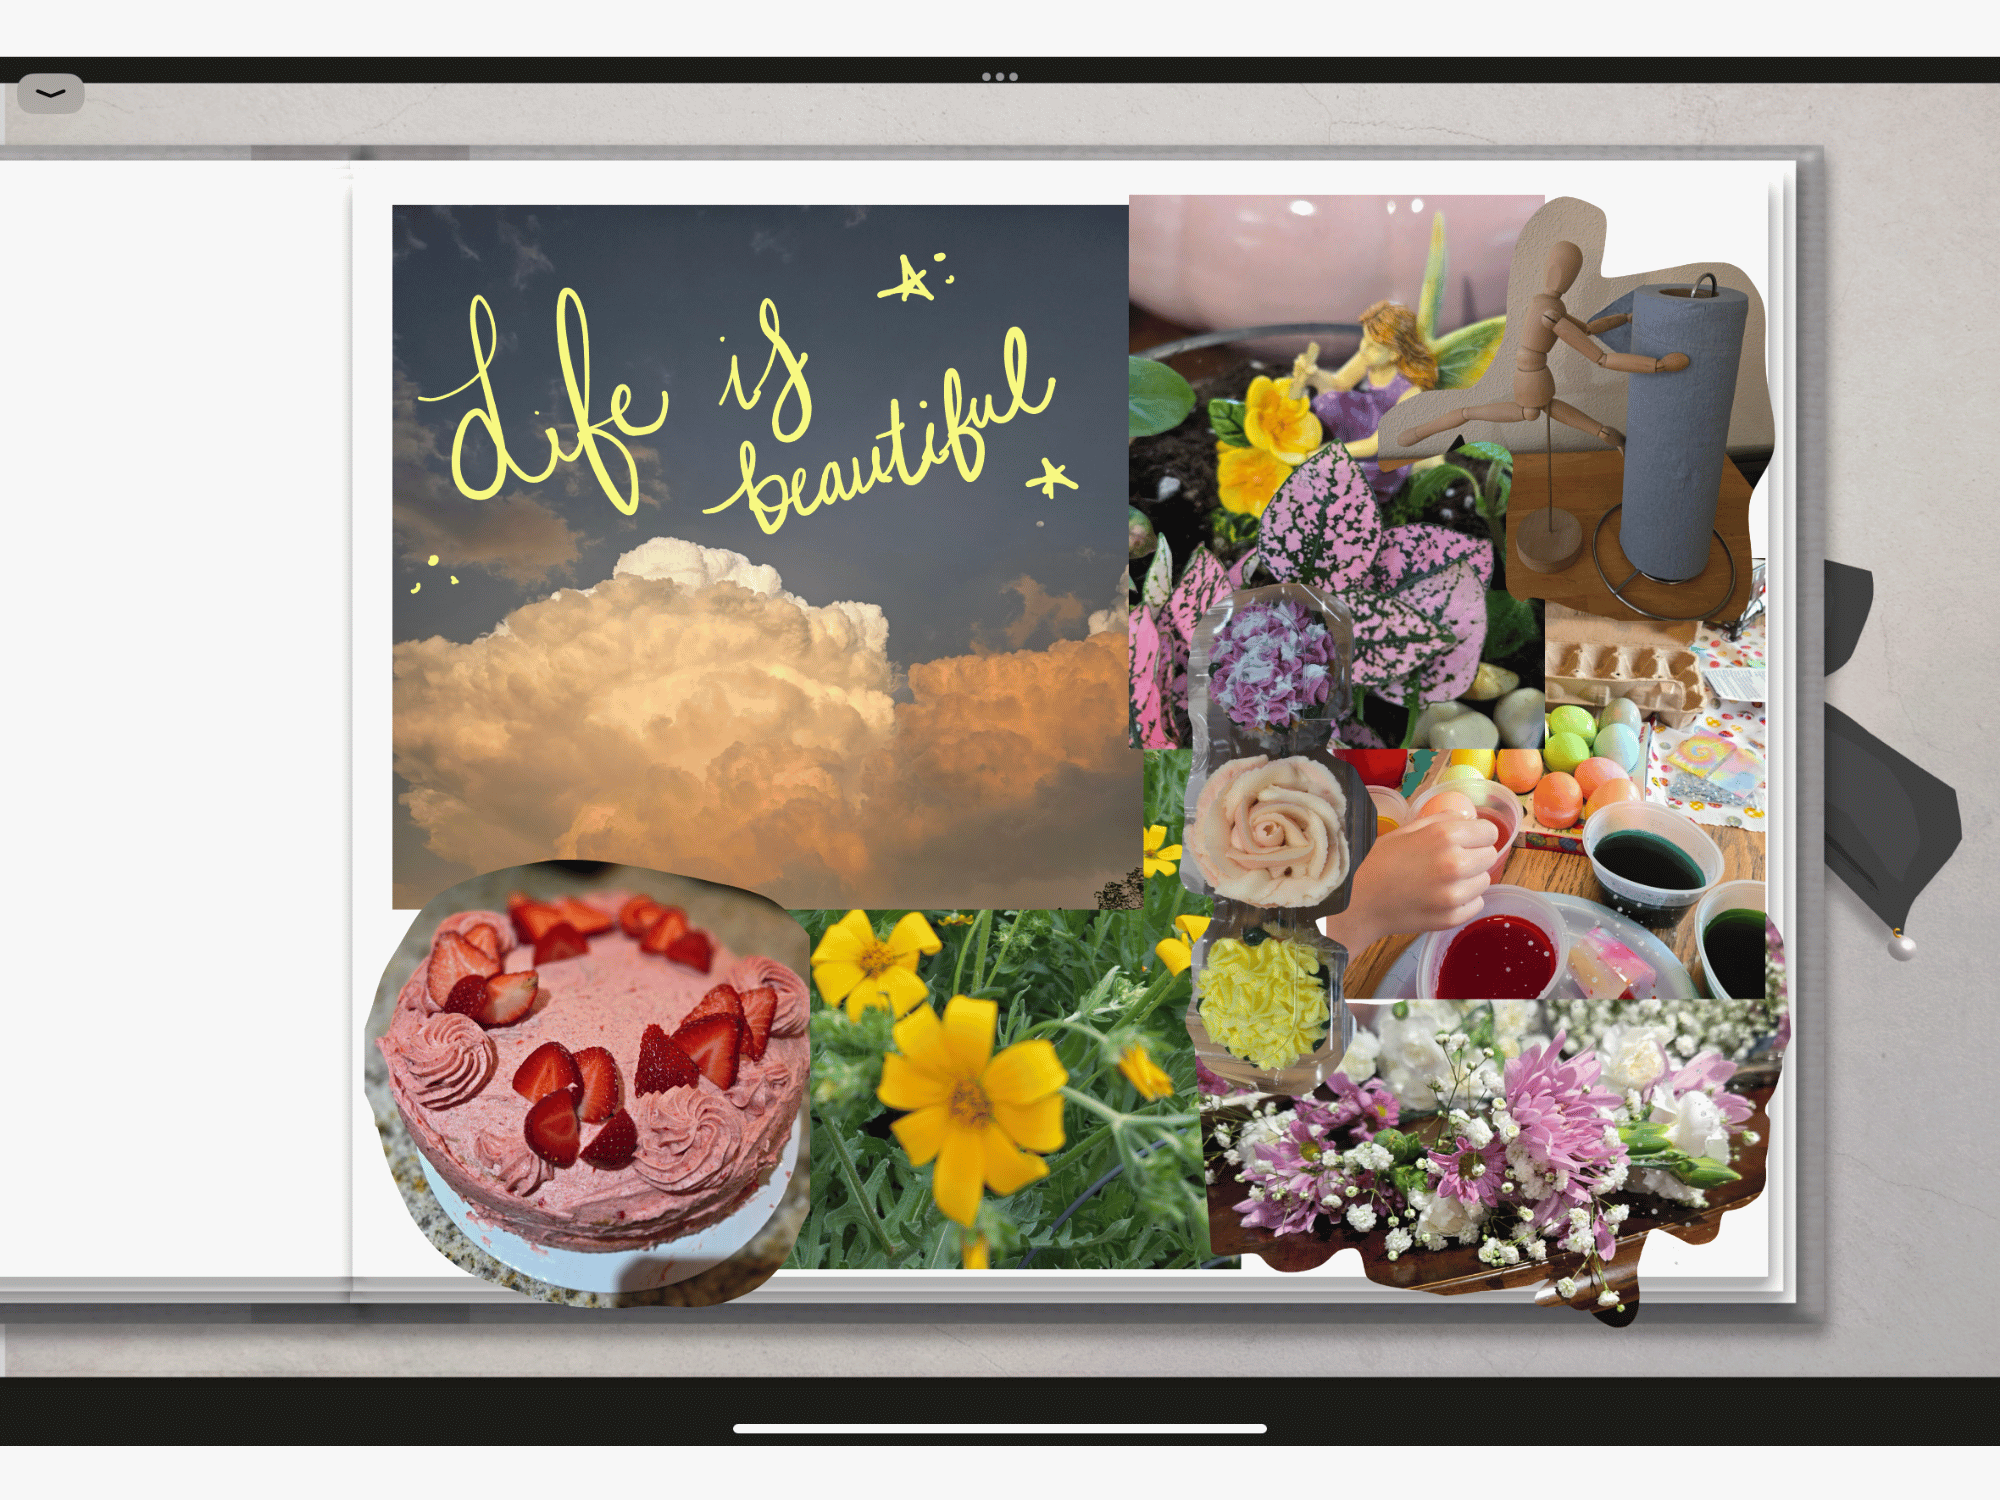
Life, Life lately, recent photos on your camera roll. This one is my go to, I find it makes me more appreciative of the small moments
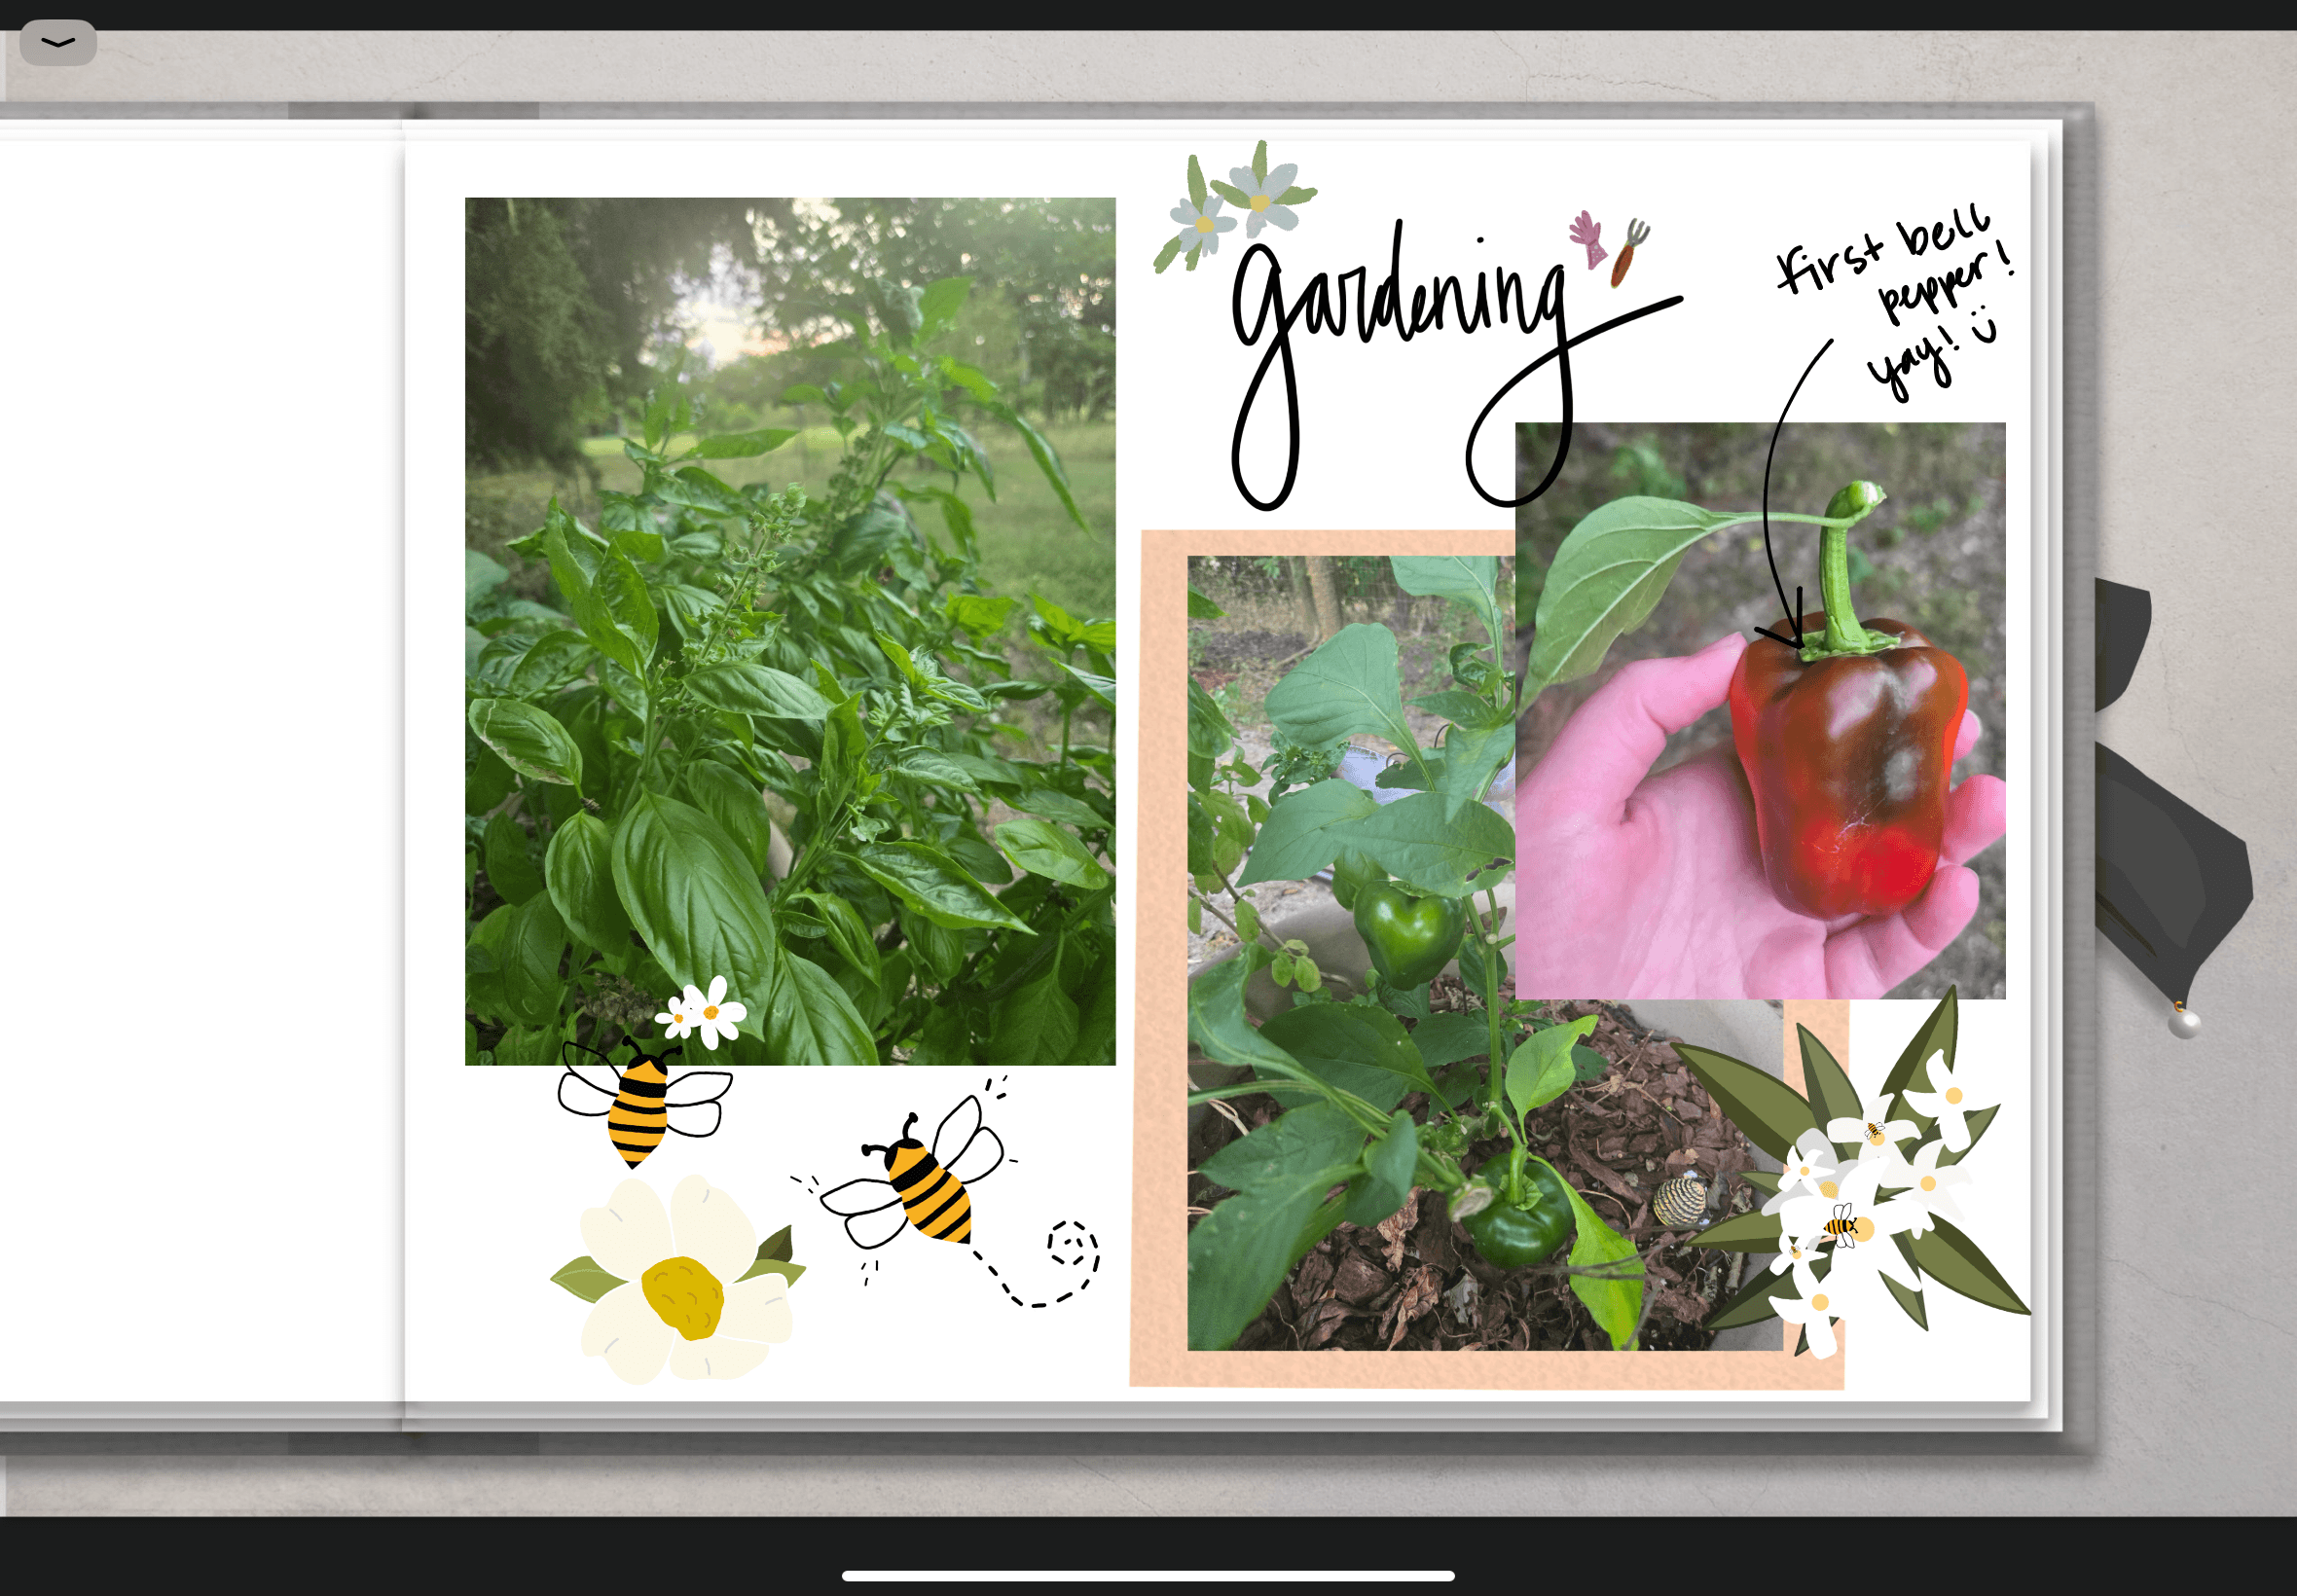
Garden, produce grown, flowers blooming, insects.
Here is a fun homework for you: Go outside and capture everything that catches your eye. Bonus points if it makes you smile! Then, grab your tablet and turn those photos into your next scrapbook page.
Ditch Perfectionism and Have Fun
A key thing I like to remember is that it doesn't need to be perfect. I personally go for a collage approach, filling the pages with vibrant stickers and hand-lettering. For me, this process is purely therapeutic. It forces me out of my perfectionist habits and just lets me create freely.
Now, go out, grab your tablet, and start enjoying your favorite memories again through scrapbooking!
Save this guide so you don’t loose these tips: