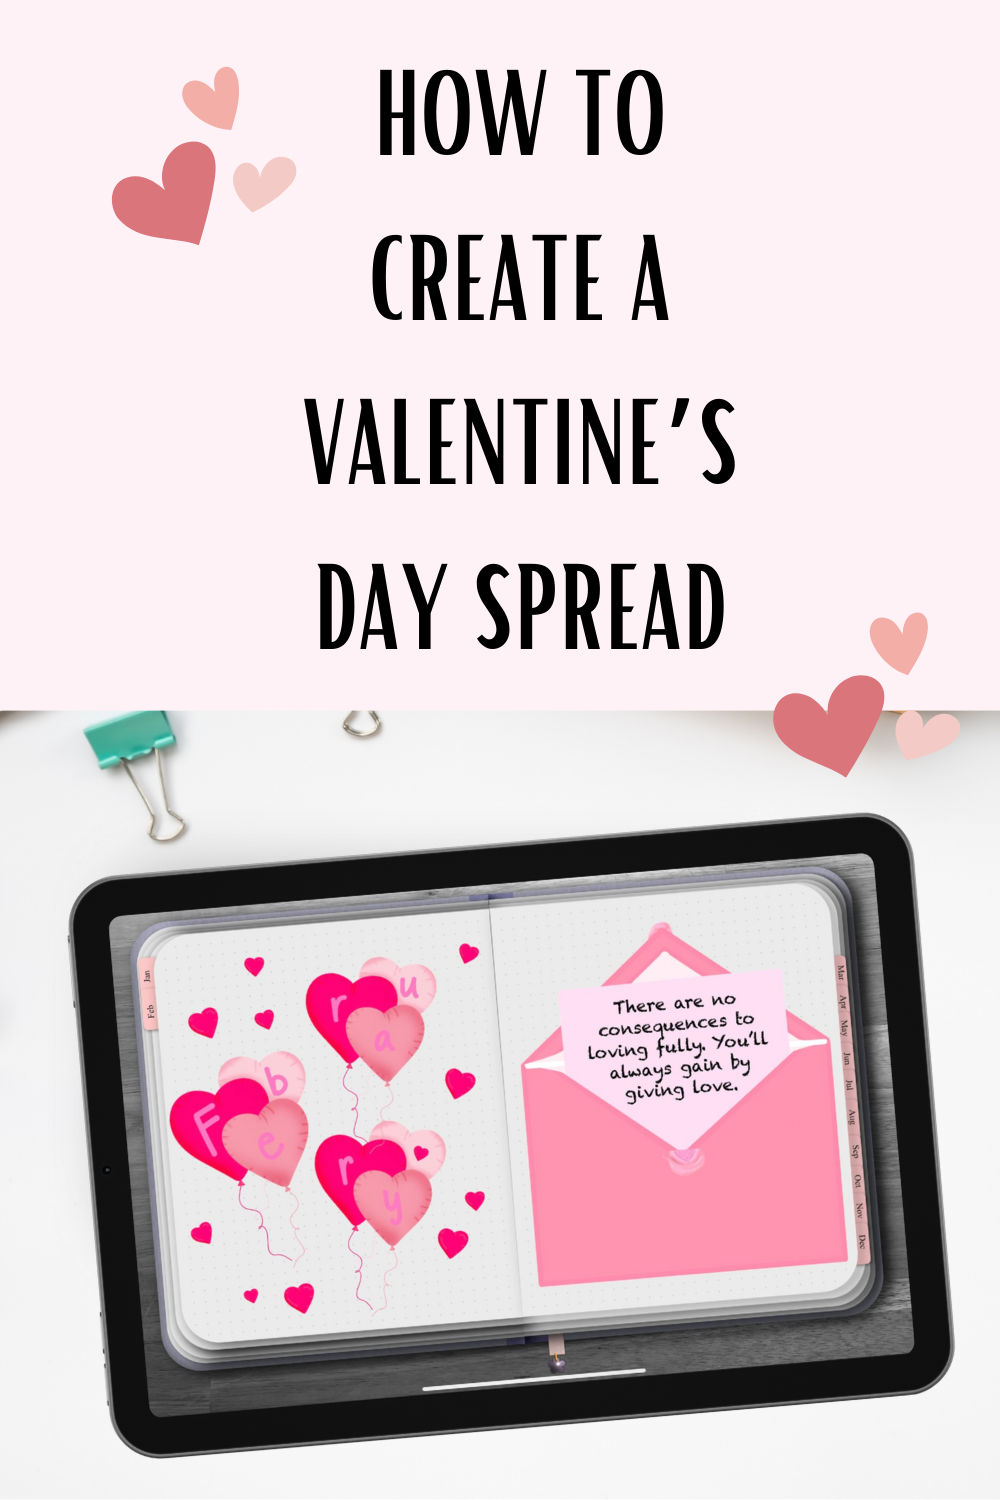
4 easy steps to create an aesthetic Valentine’s planner
Celebrate Valentine’s Day in style with your digital planner! This guide shows you how to design a charming Valentine’s spread in Goodnotes, including layout ideas, decorative stickers, and tips to make your planning both fun and functional. Perfect for digital planning enthusiasts looking to add a personal touch.
Step 1: Choose your theme
Choose if you want your Valentine’s theme to be a mix of pink or red texts, hearts, floral or Valentine’s decor. I prefer to pick on theme in my spreads so that each page looks cohesive. I also find that cohesive designs make it look more aesthetic.
Step 2: Create an entry page
For my Bullet Journals I like creating entry pages. This can be a page covered in designs, one that has the month on it with designs, or be a bucket list. Anything to let you know you’ve reached a new month and to get you excited for the process. Above all I think it’s important to not take Journaling too serious. Think of it as a fun creative outlet to get all your ideas, lists, and plans out of your brain.

Step 3: Divide pages into sections
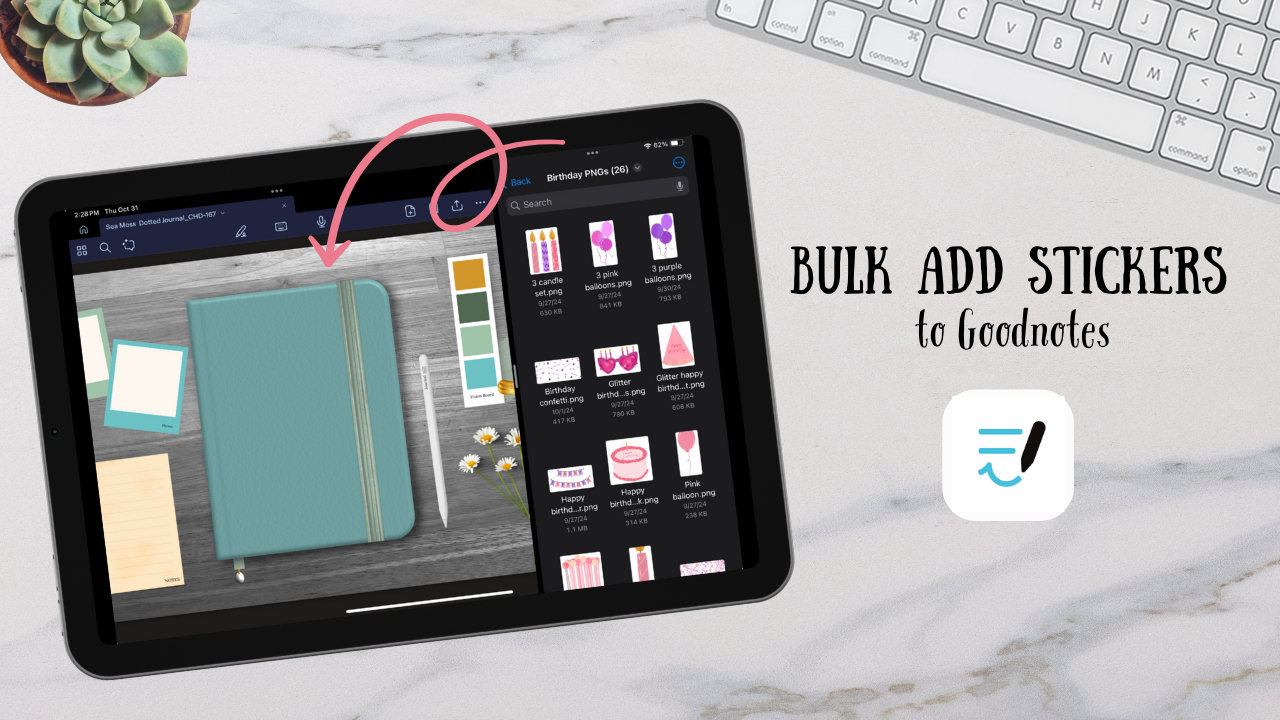
Create different Bullet Journal entries for your monthly schedule, habits, or love notes. These can be on different pages or all on one. You can plan out your layout using pre-curated spreads and stickers or use the pencil tool in Goodnotes to create a quick sketch.
Step 4: Add Visual elements
Bring your Journal to life with themed stickers or washi tape. It’s surprising how just adding some stickers can transform the spread and make you excited to use it.
Conclusion
Above all when creating a spread is to have fun, remember that this is a creative outlet. You can make your entries anything you want. For me as you see above I like to create an entry page and a Pilates tracker, since Pilates is part of my Yearly Vision Board. I hope you have fun creating your Valentine’s Day digital bujo spread!
Shop the stickers used:
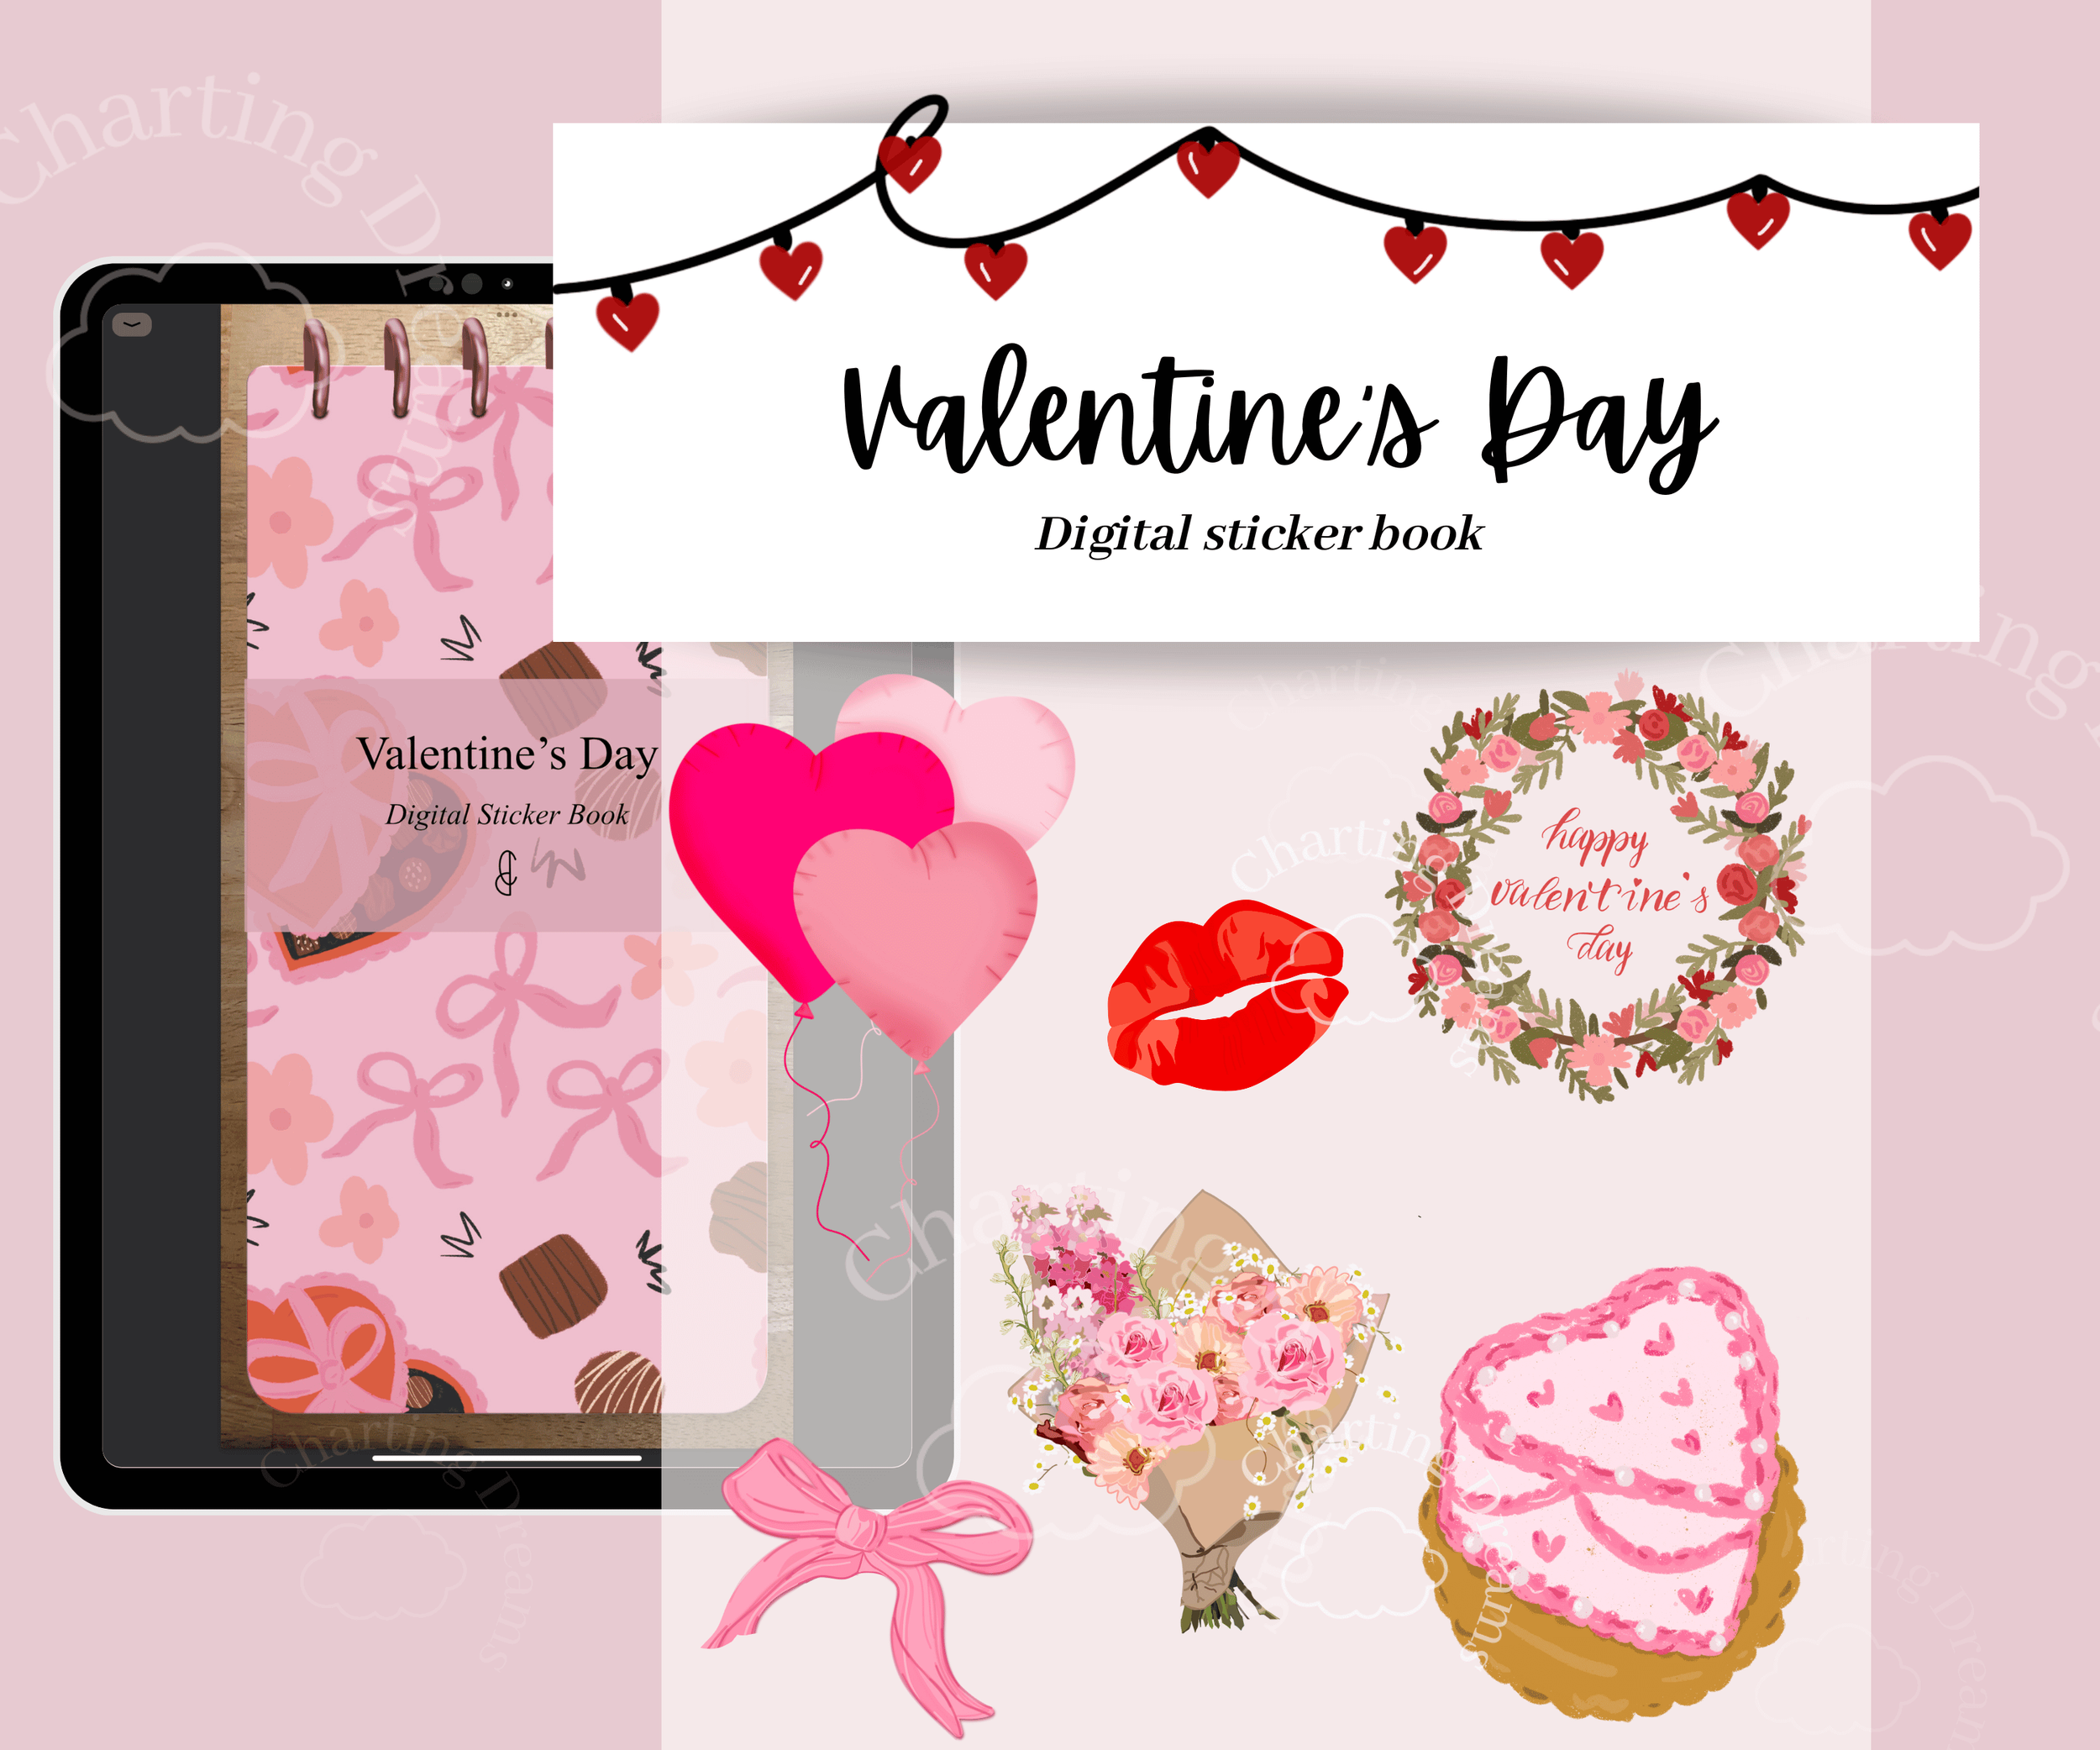
Create romantic, cozy journal spreads inspired by love and celebration. Perfect for Valentine’s planning, memory keeping, date night logs, and seasonal scrapbook pages.